Supports a wide range of inspections, from 0603 components to printed solder.
With the AI-MESH function, inspection of M-size boards can be started in just 15 minutes from setup.
Ultra-fast inspection takt time of M-size boards: less than 20 seconds.
Perfect for high-mix, low-volume production sites.
The WingVision “Summit” visual PCB inspection system features four internal 20-megapixel high-resolution cameras (three for the CV-L), making it lightweight, compact, and affordable. It combines
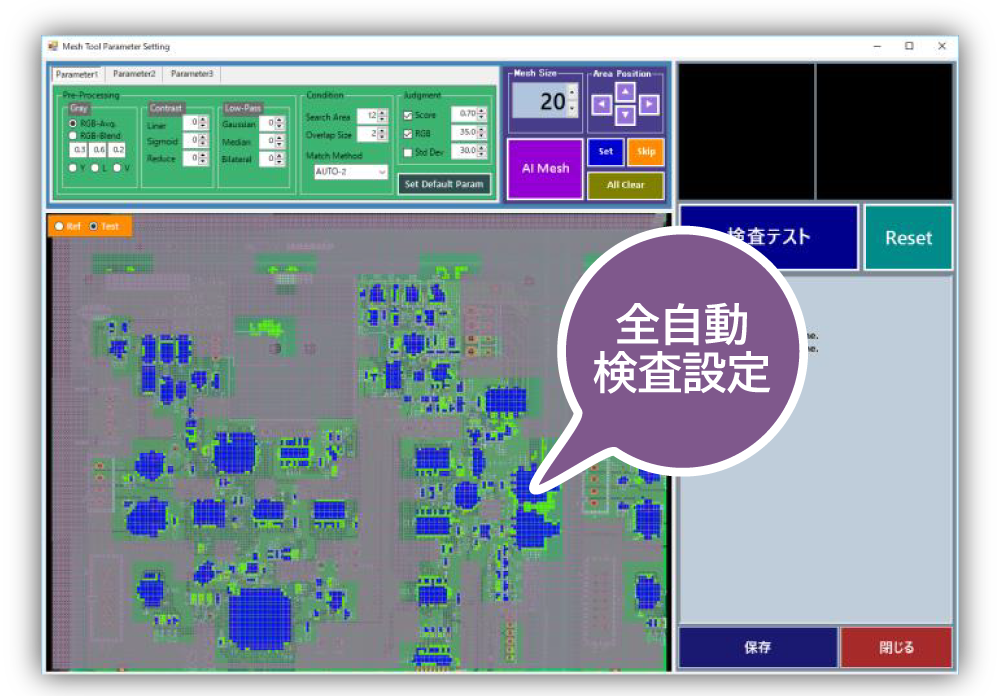
“Mesh Matching”* functionality, which allows for inspection setup without the need for a parts library, with AI to create the “AI-Mesh” function. Simply load a good and unassembled PCB and the AI will analyze it, automatically setting the necessary parameters for the required areas. This allows anyone to quickly configure and use the inspection. An
optional function for reading serial numbers (1D and 2D barcodes) on PCBs is also available, allowing for automatic saving of images, linking the serial numbers to the captured images.
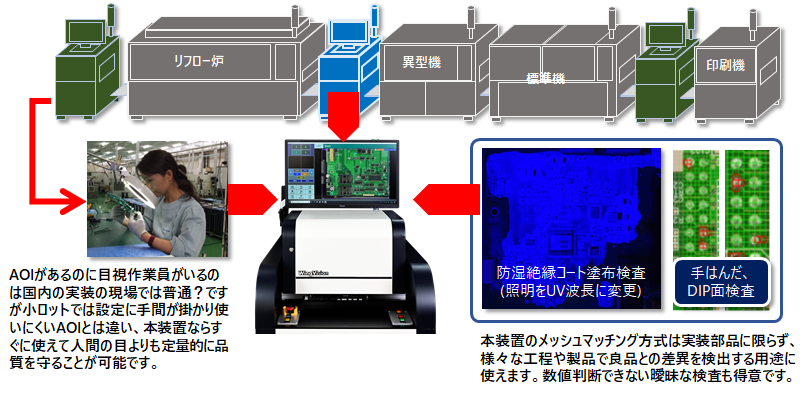
Summit is available in a variety of configurations, including a desktop offline model, an inline model with a conveyor belt, and a model that can be installed on an existing conveyor belt. It is popular with customers looking to implement a visual PCB inspection system without modifying their production line.
*Japanese Patent No. 6233824
Mesh matching + new AI-Mesh function implemented,
significantly reducing setup time.

With the mouseAreas requiring inspectionSpecifyJust,Creation managementIt was difficultConventionalThe parts libraryUnnecessaryIn-house developmentsoftware”Mesh matching”It is equipped with (Japanese Patent No. 6233824 granted)
In the latest versionGood products andUnmounted boardWhen you load it,Compare the differenceInspectionnecessaryAI (artificial intelligence) is available in the locationnecessaryparametersFully automaticSet up”AI-Mesh”Functionmounted.FurthermoreShort time+High precisionSettingspossibleI did.
Achieves both high detection accuracy and ability to track component misalignment

Mesh matching can “pass parts with poor positional accuracy,” something that general inspection equipment struggles to do. By searching the surrounding area within the allowable range of each mesh and searching for the maximum matching pattern, it achieves both flexibility and high detection accuracy.
Recommended as a pre-reflow board inspection device (PRI)
SummitAs an inline machineBefore the reflow ovenInstallThatRecommendWe are doing it.Solderhardenin frontAbnormalityIf it can be detectedDuring repairSecondary defectsTo preventCan,Mounting machines andOn the printing pressQuicklyfeedbackBy doingQualityUpstreamBuilt-inIn-line machines areDevice sectionSlideMechanismBecause it can be attached,Enough for a person to standIf there is a gap,ConveyorAs if straddlingTo be installedcan.Reflow ovenIf you are workingDevice sectionIf you slideIt can be made operational.Line changeAlmost withoutThe installation can be carried out.

Lineup
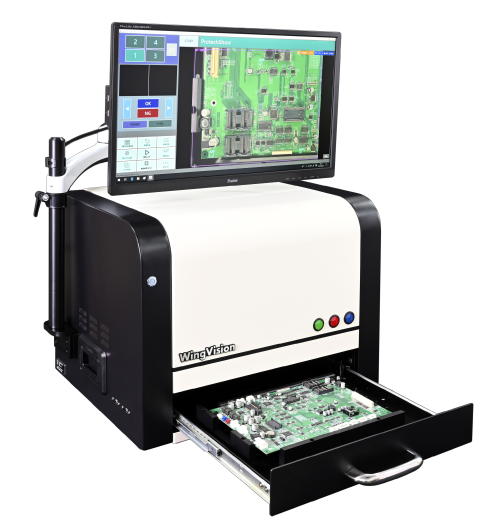
Offline Model “Summit TB-M” Desktop Model for M-size PCBs By not incorporating it into a
production line, it can inspect multiple lines. ■ Easily inspects inserted components and solder surfaces after DIP . ■ Quickly inspects mounted components after reflow. ■ Can be used as a general-purpose support for visual inspection.

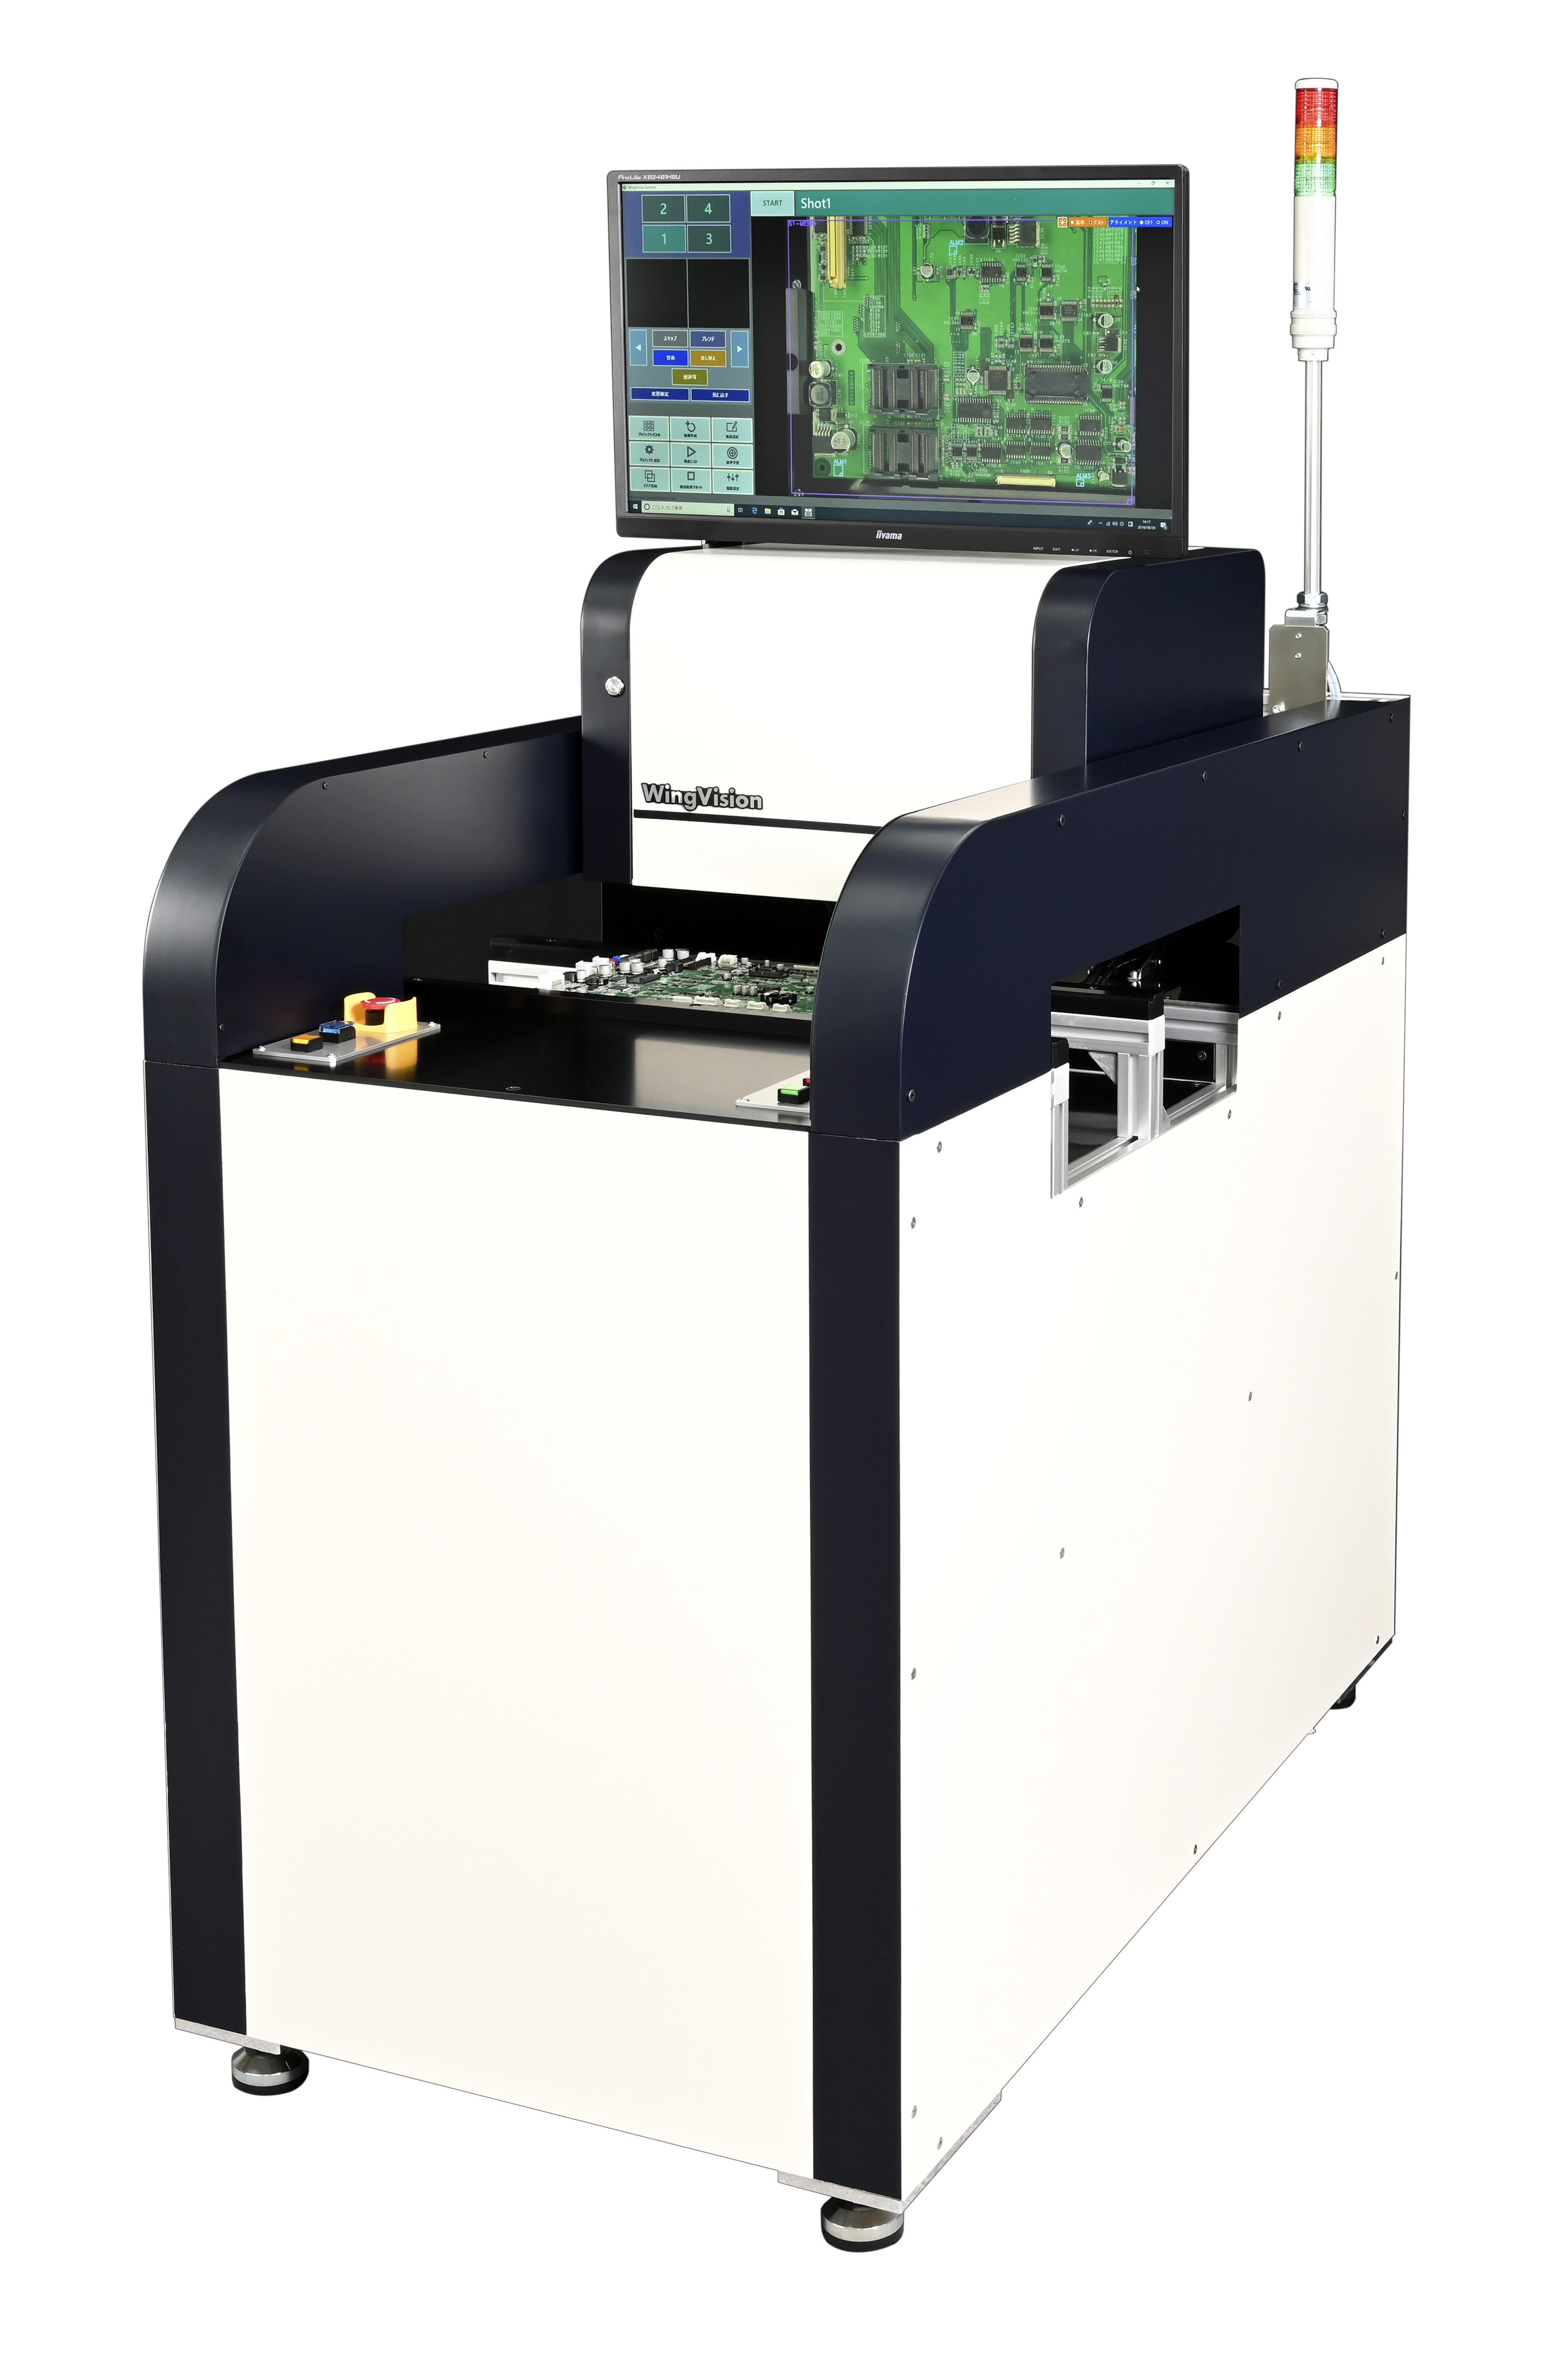
Inline model “Summit CV-M/” (for M-size boards) and “Summit CV-L” (for L-size boards)
There are two models available, one for M-size boards and one for L-size boards. The CV-L inspects boards by photographing them with three 20-megapixel cameras as they move. In both cases, the inspection unit slides backwards, allowing easy access to the boards.

Product configuration and main specifications
| item | specification | |||
|---|---|---|---|---|
| Size/Model | Offline model for M-size boards (Summit TB-M) | Inline model for M-size boards (Summit CV-M) | Inline model (Summit CV-L) for large-size boards | |
| Device model name/model | WV-2012Q-330 | Conveyor equipped: WV-2012Q-330CV | Conveyor equipped: WV-2012T-510CV | |
| Inspection target | Compatible board size | 50mm (X) 50mm (Y) ~ 330mm (X) 250mm (Y) Board thickness 0.4~3.0mm | 50mm (X) 50mm (Y) ~ 510mm (X) 460mm (Y) Board thickness 0.3~8.0mm | |
| Parts to be inspected | Minimum size: 0.6 mm (X) 0.3 mm (Y) / Maximum height: 20 mm / Maximum number of inspection objects: Unlimited | |||
| Main inspection items | Component presence/absence, polarity, misalignment, reverse mounting, incorrect components, solder balls, bridges, color differences, etc. 1D/2D barcode reading (optional) | |||
| optical system | camera | Four 20-megapixel CMOS cameras | Three 20-megapixel CMOS cameras | |
| lens | Focal length 12mm F2.8 Resolution 20MPixel | |||
| optical resolution | Approximately 37μm/Pixel | |||
| Inspection time required | 5 to 20 seconds (varies depending on inspection area and mesh size) | 5 to 30 seconds (varies depending on inspection area and mesh size) | ||
| illumination | High-brightness white flat LED lighting in 4 directions | |||
| Control PC | CPU: Intel Core-i5 Windows 11 | |||
| monitor | 24-inch Full-HD (HDMI connection) | |||
| power supply | AC100V | |||
| Operating environment range | 5℃~35℃, humidity 20~80%RH (no condensation) | |||
| Device size | Width: 610mm Depth: 493mm Height: 420mm (excluding monitor) Weight: Approx. 35kg | Width: 640mm (excluding conveyor) Depth: 1200mm Height: 1250mm (excluding monitor) Weight: Approx. 120kg | Width: 964mm (excluding conveyor) Depth: 1780mm Height: 1262mm (excluding monitor) Weight: Approx. 200kg | |