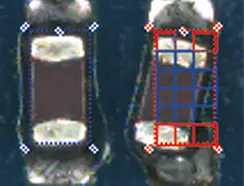
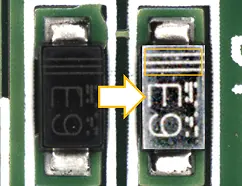
This inspection equipment has a simple hardware configuration while retaining the performance of the higher-end series. It is ideal for in-line inspection before reflow and after DIP.
Product Introduction
- Tabletop and inline models available
- Z-axis is standard equipment. Even tall parts can be inspected with optimal focus.
- Equipped with a camera pixel count and telecentric lens equivalent to that of higher-end models
- Establish traceability of inspection results by introducing the CatchSystem (optional)
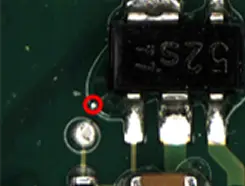
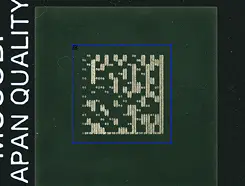
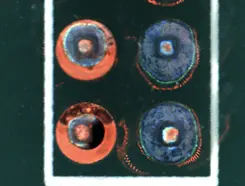
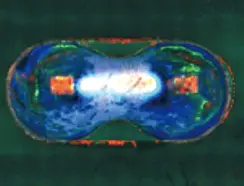
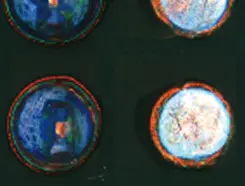
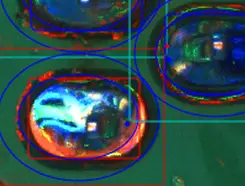
検査事例
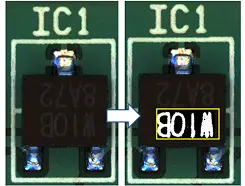
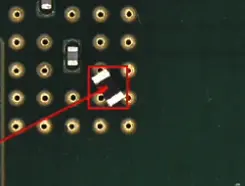
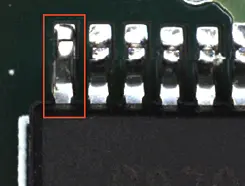
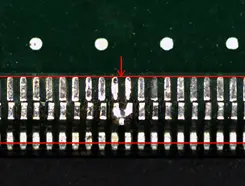
LINE UP
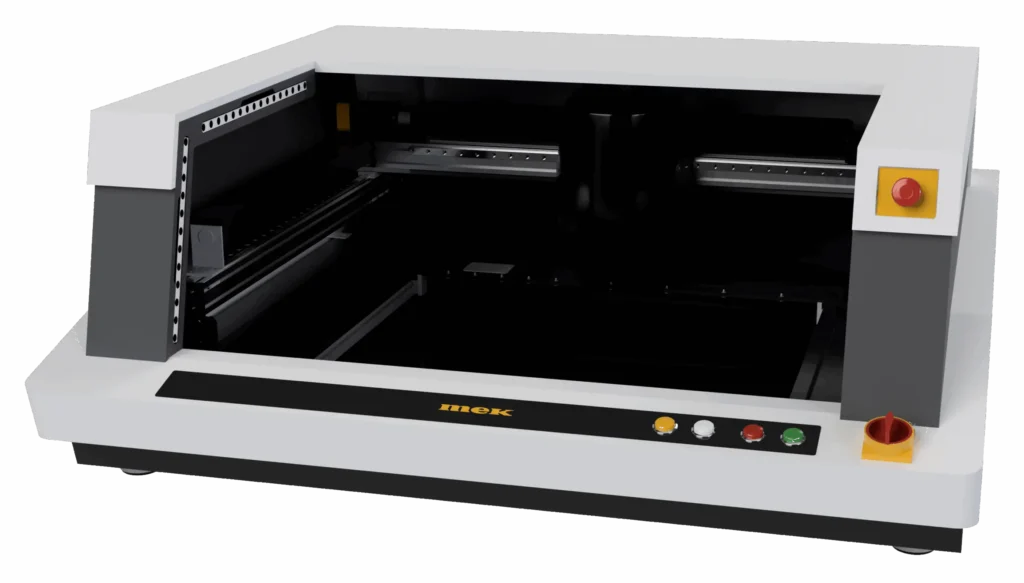
Desktop types
A desktop type that can easily handle small-lot, multi-product inspections.
The installation method is simple and can flexibly accommodate changes to the factory layout.
We also offer a dedicated stand (optional), which can solve the problem of selecting a table.
- Inspection range of L size (520 x 460 mm)
- The inspection head moves in the XY direction and does not move the board, making it ideal for inspecting inserted components before flow soldering and for heavy boards.
- An area sensor is installed as standard at the board set entrance to ensure worker safety.

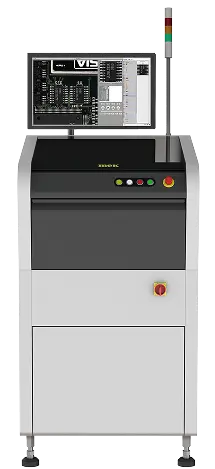
Inline types
Ideal for pre-reflow component inspection (0402 size and above). Early defect detection contributes to quality improvement.
By utilizing offline teaching (optional), program data can be created and real-time debugging can be performed even during production.
- Supports automatic model switching by reading barcodes
- Inspection range for M size (350 x 250 mm)
- Automatic conveyor width adjustment is supported as standard when switching programs

SPECIFICATION
| V22X-520 (Desktop Type) | V22X-350L (Inline Type) | |
| External dimensions | W1030 x D1060 x H410mm | W698 x D800 x H1298mm |
|---|---|---|
| Body weight | 95 kg | 210 kg |
| Power | AC 100V – 240V | AC 100V – 240V |
| Implementation Limitations | Top 40mm Bottom 70mm | Top 40mm Bottom 60mm |
| Camera | 5M | 5M |
| lens | Telecentric lens | Telecentric lens |
| Field of view | 36 x 30 mm (15 μm) | 36 x 30 mm (15 μm) |
| Light | DL lighting or ML lighting | DL lighting or ML lighting |
| Inspection range | 520 x 460 mm | 350 x 250 mm |
| Angle Camera | ー | ー |
| Z-axis stroke | 30 mm | 30 mm |
| Laser height measurement | ー | ー |
| Power | 350 W | 350 W |
| Conveyor Speed | ー | 10-500 mm/sec |
| Inspection time | 0.3 sec/screen | 0.3 sec/screen |
OPTION
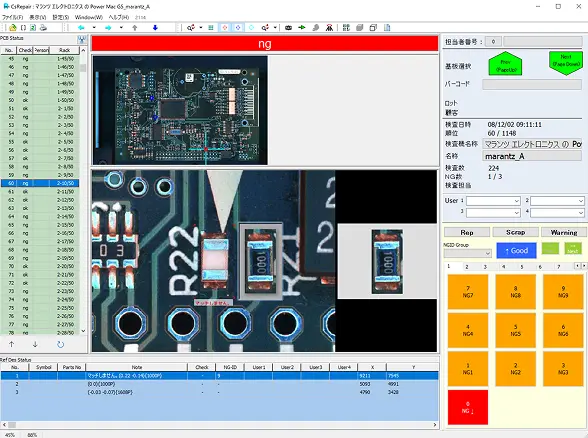
CatchSystem
The results obtained from the inspection are saved in a database and can be checked using images. By aggregating and analyzing the accumulated data, it is possible to understand the operating status of each device, reduce defects, and improve production quality.
The Catch System collects all information from inspection equipment and establishes traceability in production management.
* Separate Windows PC required
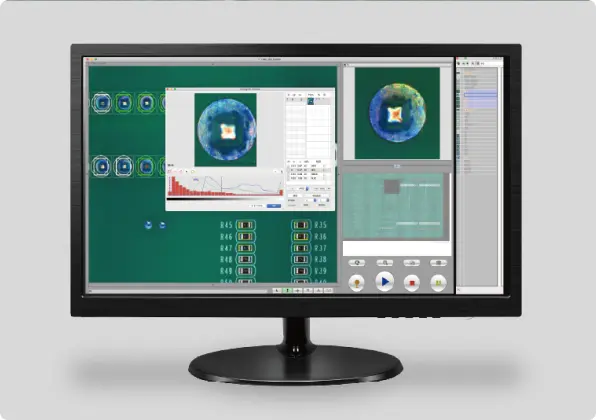
Offline Teaching
Inspection data can be created without stopping the inspection equipment. Inspection data can be created offline on the same screen as the inspection equipment.
Immediately after inspection, defective images are automatically saved, allowing debugging work to be performed on the OLT (not applicable to the X02W).
It can also be used for in-house training purposes.
*A separate PC equivalent to the inspection machine is required.